Happy Tuesday my crafty friends! I'm back again to share a card with you from my Tues@8pm Facebook live. For this card, I've used the Enjoy the Moment stamp set from the Jan-June Mini catalogue, along with an emboss resist technique. I love the detail in these stamps!
Be sure to watch the video tutorial further down in the post. All measurements are given during my video.
I started with Basic White cardstock and used my Blending Brushes and inks to create a lovely background then heat embossed the images in white.
Inks:
Calypso Coral, Mango Melody, Magenta Madness
ENJOY THE MOMENT #154452
This set has great sentiments! I stamped in Tuxedo Black Memento ink onto Calypso Coral cardstock and used my Label Me Fancy punch.
The Forever Greenery Trim Combo Pack with my fave Gold Trim is so perfect! I looped the trim around my fingers and adhered it using Glue Dots to the sentiment layer. A little bling goes a long way!
CLICK ON THE IMAGE BELOW TO WATCH MY VIDEO TUTORIAL
The emboss resist technique is super easy and the results are amazing! Simply choose your ink colours and have fun!
Love this card? You can purchase the products to make this card using the picture links at the bottom of this post. And feel free to leave me a comment. 😊
Please note: Sale-a-bration products are exclusive and only available until Feb 28, or while supplies last. Love 'em? Place your order soon!
Hello again my crafty friends! I'm super duper excited about our September Positive Inkers Global Blog Hop! We're featuring products from the Aug-Dec Mini Catalogue, and I chose the Beautiful Autumn Bundle for my card. It is inevitable - fall will be here soon enough and those cool evenings are a tell-tale sign!
I love the fall season and the gorgeous colours as the leaves change and the focus of my card is definitely the leaves! To get such vibrant colours, I used re-inkers and Fluid 100 Watercolour Paper along with my Water Brushes.
I started with a half sheet of Fluid 100 Watercolour Paper. Clear Block F, Water Painters and 4 re-inkers: Magenta Madness, Cherry Cobbler, Bermuda Bay and Mango Melody. On separate parts of Clear Block F, I put 1-2 drops of re-inker. Next, I sprtized the paper with water, and with a mix of re-inker & a wee bit of water, I picked up the first colour using my Water Painter and brushed it onto the paper. Wanting the colours to mix a bit, I didn't let the paper dry before using the next colour. Once I was done, I dabbed on more colour from the block, and allowed some of the colours to mix. It takes a bit of playing around with the colour, which is so much fun!
I find it best to purchase bundles and get 10% off, rather than buying the stamps & punches or dies separately. I mean, who doesn't love saving money!
g
With the watercolour paper now dry, I inked up the stamps using Early Espresso and stamped all over the paper then punched the leaves. My next step was to choose a background paper. I tested a few colours, then this speckled paper from the Gilded Autumn Specialty DSP caught my eye! Those lines you see at the edge of the paper are from one of my Stitched Rectangle Dies - my most used dies (I use them a LOT). Before placing the leaves, I inked up a Sponge Dauber with Soft Suede and lightly transfered the colour onto the DSP, making a kind of 'shadow' for under the leaves.
I have a huge, fast growing maple in my backyard that drops millions of leaves (okay...I never actually counted them). We end up with massive piles of leaves, sooooooooo.....I piled up the leaves for my card and adhered them using Glue Dots, except 2 leaves, which I popped up on Dimensionals.
The sentiment, from Beautiful Autumn was heat embossed using White Stampin' Emboss Powder onto Basic Black cardstock. Before adhering the sentiment, I added a bit of gold trim from the Forever Greenery Trim Combo Pack. Did you notice the sentiment layer isn't laying flat? That's on purpose - to give it a flowing appearance.
Those little droplets you see are Gold Glitter Enamel Dots! They finish the card beautifully!
Click on the image below to view my video
ORDERING SPECIAL
Place your order online using my HOST CODE73VQEMAG, and with your $65 product purchase (before tax/shipping), I'll send you a FREE package of Dimensionals!
OR
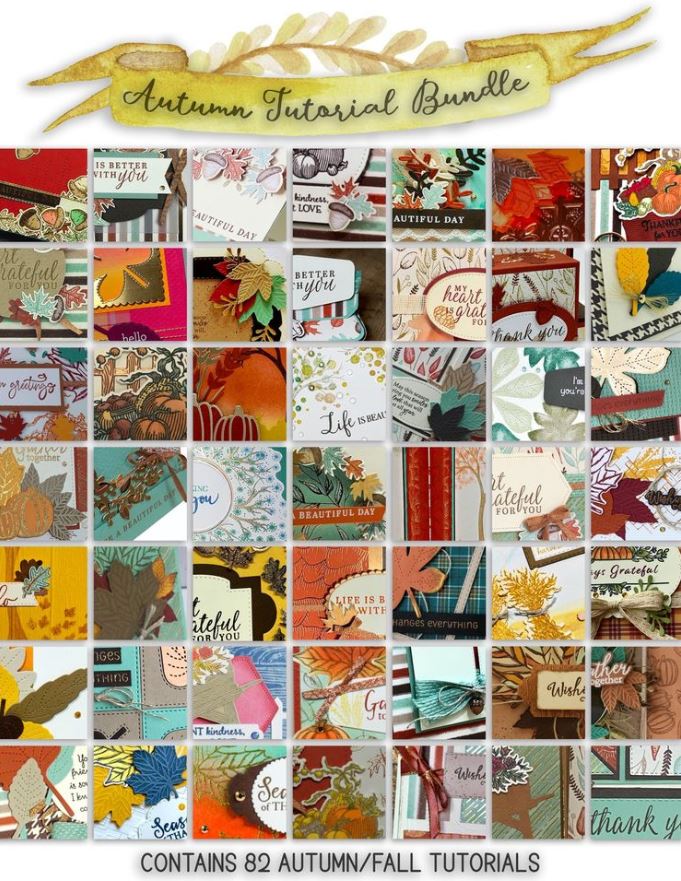
Bump up your order to $75 & receive a FREE package of Dimensionals AND the Autumn Tutorial Bundle FREE!
Demonstrators around the world collaborated to create this Mega Tutorial featuring products on pages 44-51 of the Aug-Dec Mini Catalogue. Measurements are in metric & imperial.
FAST FACTS
82 Tutorials
510 Pages
Tutorial contains a linked table of contents to find tutorials easily
How to Obtain the Autumn/Fall MEGA Tutorial
1. Place a $75 product purchase (before tax/shipping), using my current HOST CODE73VQEMAG.
2. Purchase the Mega Tutorial from me for $30. Message me at lollyandsand@gmail.com to request the tutorial. I will respond with the email to e-transfer the $30.
Once your order has been processed, or your e-transfer has arrived, I'll email you the tutorial in 4 parts. It's too large to go into one email.
Thank you for stopping by today!
To continue with the hop, click on one of the links below: